
A crack in drywall can be easy to ignore until it becomes the one thing your eye goes to every time you enter the room. Sometimes it is a small finish issue caused by normal movement. Other times it is a useful clue that moisture, loose material, or a change around the opening needs attention before a patch goes on. The practical goal is not to turn every hairline crack into an emergency. It is to identify the cracks that need more than paint and avoid doing the same repair twice.
Start with the shape and location of the crack
Take a step back before looking at the line itself. Notice where the crack sits in the room and what is around it. A short, thin line along a drywall seam can point to loose tape or ordinary movement in the finish. A crack at the corner of a door or window can appear where the wallboard meets an opening, a place that naturally concentrates movement. A mark on a ceiling, near a stair opening, or beside a repaired area may need a different conversation.
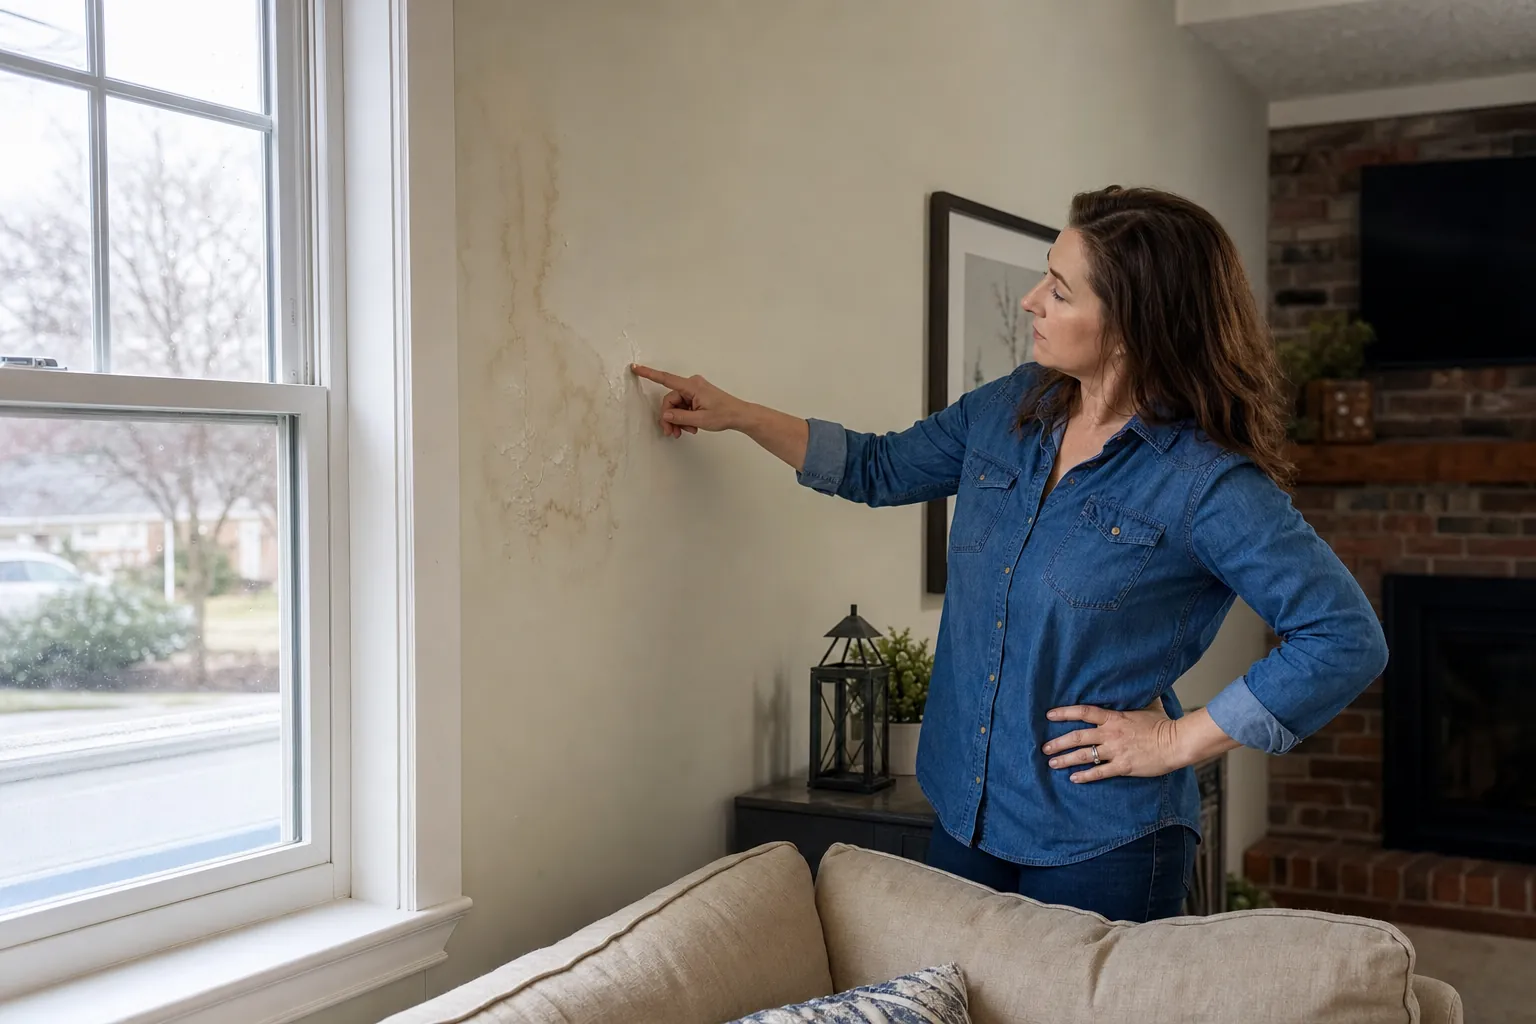
Then look for changes around it. Is the crack new? Has it become longer, wider, or more visible since the last season? Is the paint lifting, the wall soft, or the trim pulling away nearby? Do not press hard on the wall or start cutting into it. A clear photo from across the room and another close photo are usually enough to record what you see. Add the date and note whether the line changes after rain, a temperature shift, or a period of heavy use in the room.
A crack that stays narrow and unchanged is different from one that keeps reopening after an earlier patch. The first may be a focused finish repair. The second deserves a look at the condition beneath the finish. That distinction can save time, paint, and unnecessary disruption.
Separate a cosmetic crack from a warning sign
Many drywall cracks are not a sign that the house is failing. Homes settle, framing dries and moves, and temperature and humidity change through the year. Drywall is a finished surface, so even small movement can appear as a visible line. A thin crack with firm drywall around it, no water staining, and no change over time is often a reasonable candidate for routine repair.
Pay closer attention when the crack is wide, jagged, diagonal, rapidly changing, or paired with another symptom. Examples include doors that suddenly rub or will not latch, windows that bind, a ceiling that sags, flooring that feels uneven, trim that opens at the joint, or more than one new crack appearing in the same area. Those observations do not diagnose the cause by themselves, but they do mean a cosmetic patch should wait until the condition is understood.
Moisture changes the decision as well. Water stains, bubbling paint, soft drywall, a musty smell, or a crack that becomes more visible after rain or plumbing use are not ordinary patching problems. Start with B&B’s guide to water damage in walls when there is any sign that the area has been wet. The source needs to be stopped and the wall needs to be dry and stable before the finish can hold up.

Look for the cause before choosing the repair
Drywall cracks happen for different reasons, and the best repair follows the reason rather than just the line. An impact can leave a localized crack or dent. A seam can crack when tape has loosened, the joint compound has failed, or movement has stressed a connection between sheets. A prior repair can become visible again when it was rushed, when the wall moved afterward, or when the original issue was never fully corrected.
Seasonal movement is common in homes. Materials expand and contract as the weather changes, and indoor humidity can affect wood framing and finishes. That does not mean every seasonal crack needs a major project. It does mean the repair should be made with the area’s condition in mind, rather than simply applying paint over a line that has not been stabilized.
Consider what happened before the crack appeared. Was there a roof or plumbing leak? Did a door get slammed, furniture strike the wall, or a previous project disturb the area? Is the crack near a window, exterior wall, bathroom, laundry room, or roofline? A little context makes a repair estimate much more useful. If the concern sits near an exterior leak path, gutter overflow, or damaged trim, B&B’s home repair services can help connect the visible crack to the nearby details that may be contributing to it.
Know when to pause before patching
A quick patch is the wrong first step when the wall is actively wet, soft, sagging, or changing. The same is true when there is a visible electrical concern, a large ceiling crack, or a broad pattern of movement through the room. Keep people clear of a sagging ceiling and do not open a wall around wiring, plumbing, or unknown damage just to investigate it. The safe next step is to identify the right professional for the cause.
Older homes need one more layer of care. If paint will be disturbed in a pre-1978 home, the U.S. Environmental Protection Agency’s renovation, repair, and painting guidance explains the lead-safe work rules that may apply. That is especially important when a repair grows beyond a small touch-up or involves sanding and opening a larger area.
For a stable, dry crack, it is still worth waiting long enough to see whether the line changes. Mark the end of the crack lightly with a pencil on a nearby inconspicuous surface, take a dated photo, and compare it after a few weeks or after the next weather change. This is not a substitute for professional advice when a crack looks serious. It is a simple way to give the next conversation something more useful than memory.

What a lasting drywall crack repair involves
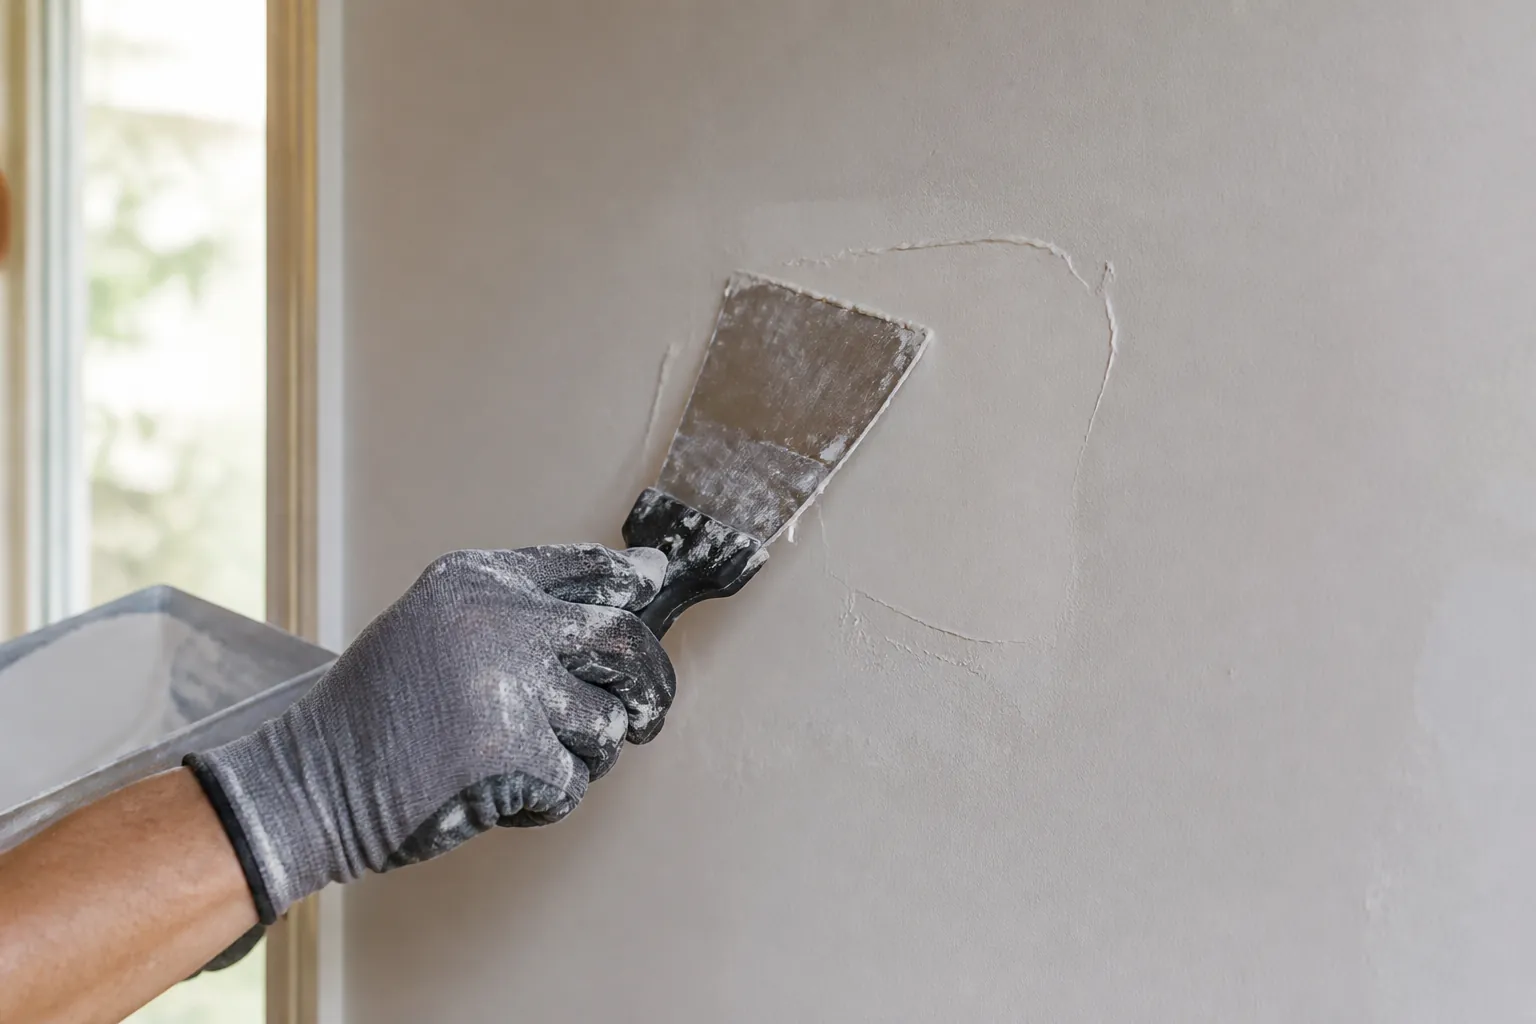
Once the cause is stable, the repair can be matched to the damage. A small crack may need loose material removed, the seam reinforced where appropriate, joint compound applied in thin layers, careful sanding, primer, and paint. Larger damaged areas can require backing, replacement drywall, tape, compound, texture matching, and blending the paint so the finished wall does not call attention to itself.
The word “patch” makes the work sound simple, but finish work is where the result is won or lost. A repair that is too shallow may telegraph through the paint. A rough sanding job can show in afternoon light. Texture needs to match the surrounding wall, and paint often needs to extend beyond the immediate repair so it does not look like a square spot in the middle of the room. The right scope depends on the wall, the existing finish, and how noticeable the area is.
A good repair also protects the room around it. Floors, furniture, nearby trim, and adjacent paint need to be considered before the work begins. B&B’s drywall repair service in Tupelo covers the practical finish work homeowners usually need after the cause has been addressed, including patches, seams, trim details, texture, primer, and paint touch-ups.
Prepare a useful repair request
You do not need to diagnose the crack before asking for help. A few specific details are enough to start a productive conversation. Include the room, the wall or ceiling location, the approximate length of the crack, when you first noticed it, and whether it has changed. Mention nearby water, a past repair, an impact, a sticking door, or anything else that may relate to the condition.
Photos matter. Take one image from across the room to show the crack in context, then one closer photo that shows the line and surrounding paint. For a ceiling or high wall, do not climb on furniture or use an unsafe ladder just to get a better image. A safe, clear photo from the ground is enough for an initial discussion. If there are several small wall repairs in the same home, list them together. Grouping related work can make one visit more useful than treating each little item as a separate project.
When you are ready, B&B’s free quote request gives you a straightforward place to share the details and photos you have. The point is not to overstate a small crack. It is to make sure the finished repair fits the condition of the wall and the rest of the home.

A quick drywall crack checklist
- Record the change: Take wide and close photos, then note when you first saw the crack.
- Check the surrounding area: Look for soft drywall, staining, loose trim, paint bubbles, or a door or window that has started sticking.
- Consider the location: Door and window corners, seams, ceilings, exterior walls, bathrooms, and laundry areas can point to different causes.
- Do not hide active damage: Wait to paint or patch if moisture, movement, or loose material may still be affecting the area.
- Use the right scope: A stable finish crack may need targeted repair, while a changing or widespread issue may need a closer assessment first.
- Share useful details: A few photos and a short history make it easier to decide whether the work is a focused wall repair or part of a larger repair list.
Drywall cracks are easier to manage when they are treated as information, not just an eyesore. Notice what has changed, rule out moisture and other warning signs, and then choose a repair that gives the wall a real chance to stay finished. For many homes, that is a modest, focused repair. For the cracks that are signaling more, taking the time to understand the cause first is the part that protects the result.
Frequently Asked Questions
Drywall Crack Repair FAQ
Are drywall cracks normal?
Small, stable cracks can appear as a house settles or materials move with seasonal temperature and humidity changes. A crack that grows, returns quickly, or appears with other changes should be assessed before it is patched.
Can drywall cracks be repaired permanently?
A repair can last when the underlying cause is stable and the wall is prepared and finished correctly. If movement, moisture, loose material, or framing issues continue, a cosmetic patch alone may crack again.
When should I worry about a drywall crack?
Look closer when a crack is widening, runs diagonally from a door or window corner, returns after repair, appears with water staining or soft drywall, or comes with new sticking doors, uneven floors, or other changes in the home.
Should I paint over a drywall crack?
Paint can hide a repaired crack after the surface is stable, smooth, primed, and ready for finish work. Painting over an active crack or loose drywall tape will not keep the line from returning.
Can a handyman repair drywall cracks?
A qualified repair professional can often handle stable cracks, loose tape, small patches, texture matching, trim touch-ups, priming, and paint. When the crack points to active moisture, major movement, or a specialized trade, the cause should be addressed first.